
Access Tokens (API Keys)
Personal Access Tokens (omni_*) enable secure programmatic access to Omnismith APIs without storing user login credentials in external scripts or background workers.
1. Creating an Access Token
Section titled “1. Creating an Access Token”- Navigate to Access & Security → Access Tokens in the sidebar launcher.
- Click + Create Token.
- Token Name: Enter a descriptive integration name (e.g.
Server Monitoring AgentorZapier Webhook Sync). - Expiration: Choose an expiration period (e.g., 30 days, 90 days, or custom date).
- Click Generate Token.
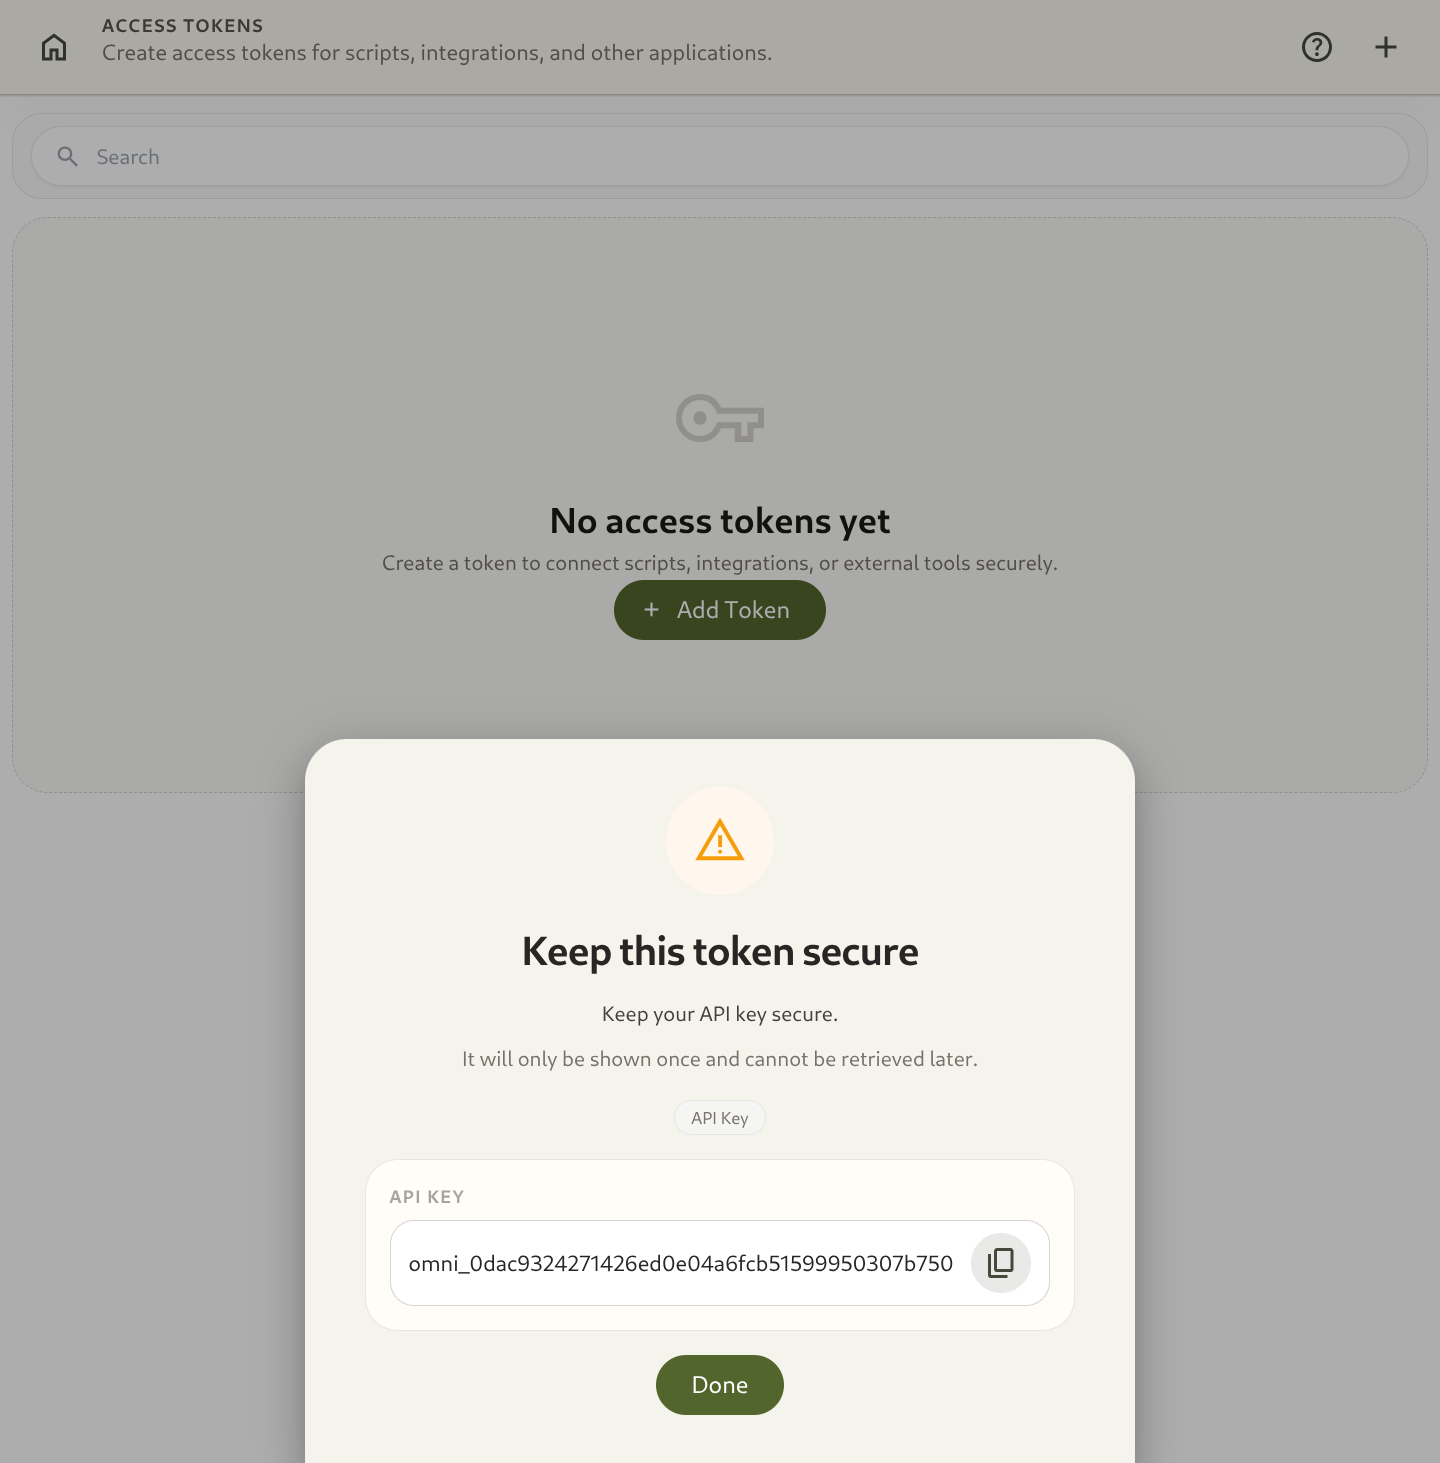
- One-Time Secret Reveal: Copy the generated
omni_*token value immediately. For security reasons, the secret key cannot be displayed again after you close the modal.
2. Using Tokens in REST API Requests
Section titled “2. Using Tokens in REST API Requests”Pass the access token in the Authorization HTTP header of your REST requests:
curl -X GET "https://api.omnismith.io/api/v1/entity/template/{templateId}" \ -H "Authorization: Bearer omni_live_secret_key_12345"